News, musings and current work For Photographers, Session Filippo Nenna 1/24/22 For Photographers, Session Filippo Nenna 1/24/22 TFP (Trade for Print) tips for models Read More For Photographers Filippo Nenna 1/19/22 For Photographers Filippo Nenna 1/19/22 How to restore damaged old photographs Read More Portraits, Session Filippo Nenna 4/14/20 Portraits, Session Filippo Nenna 4/14/20 Portraits at Houston's Sassafras Recording Studio Read More Fine art Photography Filippo Nenna 5/27/19 Fine art Photography Filippo Nenna 5/27/19 Fine art photos of Houston' s Skyscrapers Read More Portraits, Session Filippo Nenna 1/7/19 Portraits, Session Filippo Nenna 1/7/19 Portraits of Dominika Read More Portraits, Session Filippo Nenna 11/26/18 Portraits, Session Filippo Nenna 11/26/18 Portraits of Sergio Read More For Photographers Filippo Nenna 10/22/18 For Photographers Filippo Nenna 10/22/18 Using shadow barriers to anchor a viewer on your photograph Read More
For Photographers, Session Filippo Nenna 1/24/22 For Photographers, Session Filippo Nenna 1/24/22 TFP (Trade for Print) tips for models Read More
For Photographers Filippo Nenna 1/19/22 For Photographers Filippo Nenna 1/19/22 How to restore damaged old photographs Read More
Portraits, Session Filippo Nenna 4/14/20 Portraits, Session Filippo Nenna 4/14/20 Portraits at Houston's Sassafras Recording Studio Read More
Fine art Photography Filippo Nenna 5/27/19 Fine art Photography Filippo Nenna 5/27/19 Fine art photos of Houston' s Skyscrapers Read More
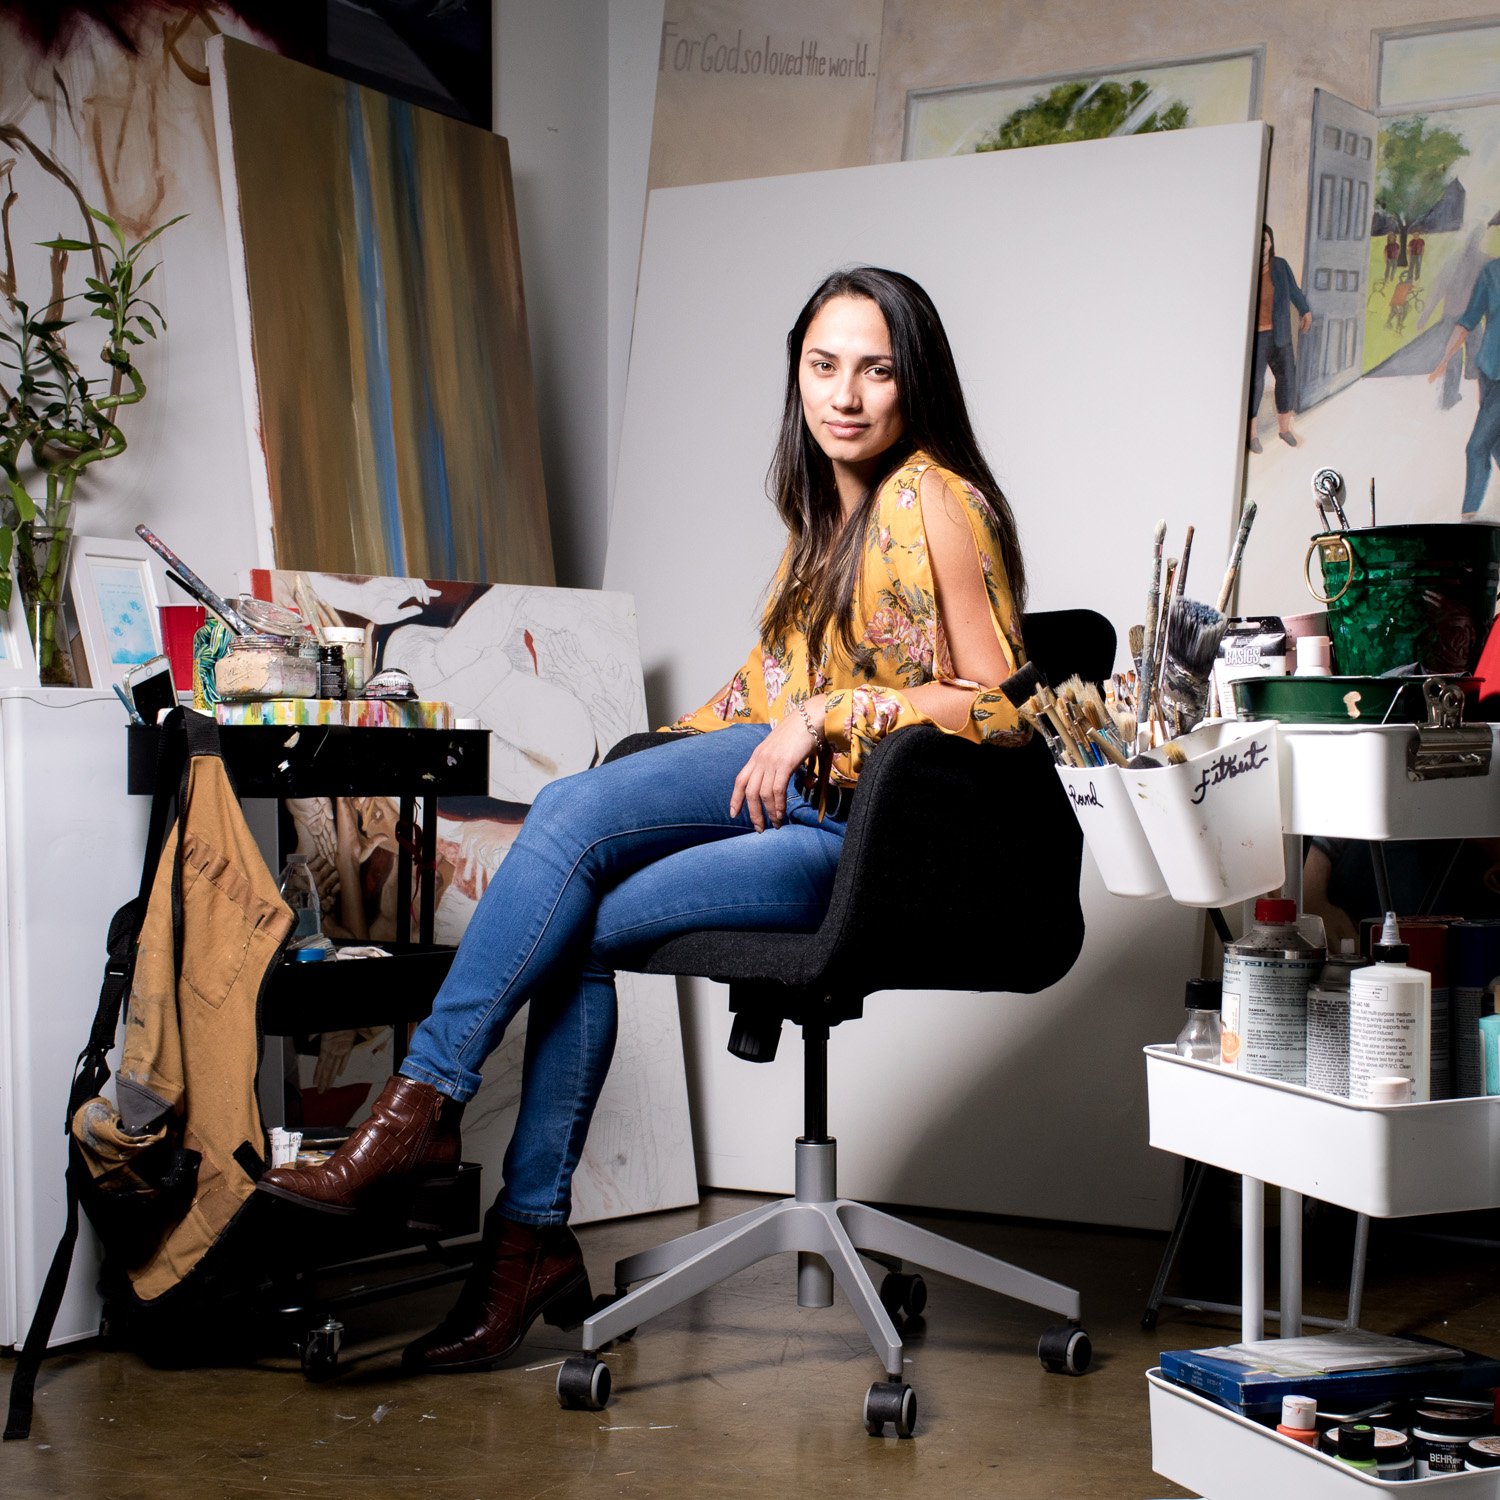
Portraits, Session Filippo Nenna 1/7/19 Portraits, Session Filippo Nenna 1/7/19 Portraits of Dominika Read More
Portraits, Session Filippo Nenna 11/26/18 Portraits, Session Filippo Nenna 11/26/18 Portraits of Sergio Read More
For Photographers Filippo Nenna 10/22/18 For Photographers Filippo Nenna 10/22/18 Using shadow barriers to anchor a viewer on your photograph Read More